
Steps for Successful Blood Draw: Properly Identify, Explain Procedure, Select Site, Collect Blood with Correct Technique
Summary
- Properly identify the patient and explain the procedure.
- Select the appropriate site for blood collection and prepare the area.
- Carry out the blood draw using the correct equipment and technique.
Introduction
Obtaining a blood sample from a patient is a common procedure in healthcare settings such as home healthcare, clinical labs, and hospitals. A blood sample can provide valuable information about a patient's health status, aid in diagnosis, and help monitor treatment progress. In this article, we will discuss the specific steps involved in obtaining a blood sample from a patient.
Step 1: Properly Identify the Patient
Before proceeding with the blood draw, it is essential to properly identify the patient to ensure that you have the correct individual and to prevent any mix-ups. This can be done by asking the patient to state their full name and date of birth, checking their identification bracelet (if in a hospital setting), or using other verification methods as per the facility's policy.
Step 2: Explain the Procedure
Once the patient has been properly identified, it is crucial to explain the blood draw procedure to them. This helps alleviate any anxiety or fear the patient may have and allows them to understand what to expect during the process. You can explain how the blood sample will be collected, how long it will take, and any potential sensations they may experience.
Step 3: Select the Appropriate Site for Blood Collection
Next, you will need to select the appropriate site for blood collection. Common sites for Venipuncture include the antecubital fossa (inner elbow) and the back of the hand. The choice of site may depend on factors such as the patient's age, medical condition, and the purpose of the blood draw. Once the site is selected, prepare the area by cleaning it with an alcohol swab to reduce the risk of infection.
Step 4: Gather the Necessary Equipment
Before starting the blood draw, gather all the necessary equipment. This may include a tourniquet, alcohol swab, gauze, bandage, adhesive tape, and the appropriate needle and vacuum tube for blood collection. Ensure that the equipment is sterile and within its expiration date.
Step 5: Perform the Blood Draw
Once all the preparations are complete, it is time to perform the blood draw. Follow these steps:
- Apply the Tourniquet a few inches above the selected site to engorge the veins.
- Ask the patient to make a fist or open and close their hand to help the veins stand out.
- Clean the site with an alcohol swab and allow it to dry.
- Hold the skin taut and insert the needle into the vein at a 15-30 degree angle.
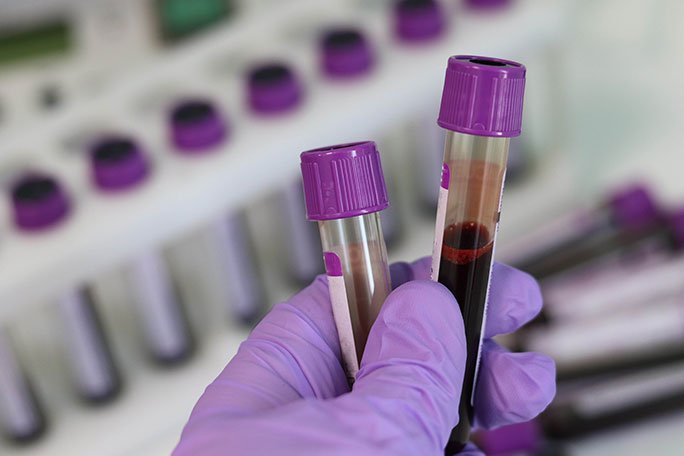
- Once blood starts to flow, fill the vacuum tube(s) according to the order of draw.
- Remove the Tourniquet and needle, apply pressure to the site with gauze, and secure with a bandage and tape.
- Label the blood sample with the patient's information and send it to the lab for analysis.
Step 6: Document the Procedure
After the blood draw is completed, it is important to document the procedure in the patient's medical record. Record details such as the date and time of the blood draw, the site of collection, the volume of blood drawn, any complications encountered, and the name of the person who performed the procedure. Accurate documentation ensures continuity of care and provides a record for future reference.
Conclusion
Obtaining a blood sample from a patient requires careful attention to detail and adherence to best practices. By following the specific steps outlined in this article, healthcare professionals can ensure a safe and successful blood draw that provides accurate and reliable results for patient care.
Disclaimer: The content provided on this blog is for informational purposes only, reflecting the personal opinions and insights of the author(s) on phlebotomy practices and healthcare. The information provided should not be used for diagnosing or treating a health problem or disease, and those seeking personal medical advice should consult with a licensed physician. Always seek the advice of your doctor or other qualified health provider regarding a medical condition. Never disregard professional medical advice or delay in seeking it because of something you have read on this website. If you think you may have a medical emergency, call 911 or go to the nearest emergency room immediately. No physician-patient relationship is created by this web site or its use. No contributors to this web site make any representations, express or implied, with respect to the information provided herein or to its use. While we strive to share accurate and up-to-date information, we cannot guarantee the completeness, reliability, or accuracy of the content. The blog may also include links to external websites and resources for the convenience of our readers. Please note that linking to other sites does not imply endorsement of their content, practices, or services by us. Readers should use their discretion and judgment while exploring any external links and resources mentioned on this blog.