
The Importance of Correct Order of Draw for Blood Collection Tubes in the United States
Summary
- The correct order of draw for blood collection tubes is critical in the United States for medical laboratory and phlebotomy procedures
- Following the correct order of draw helps to ensure accurate Test Results and patient safety
- Understanding the proper sequence of blood collection tubes is essential for healthcare professionals in clinical labs and hospitals
Introduction
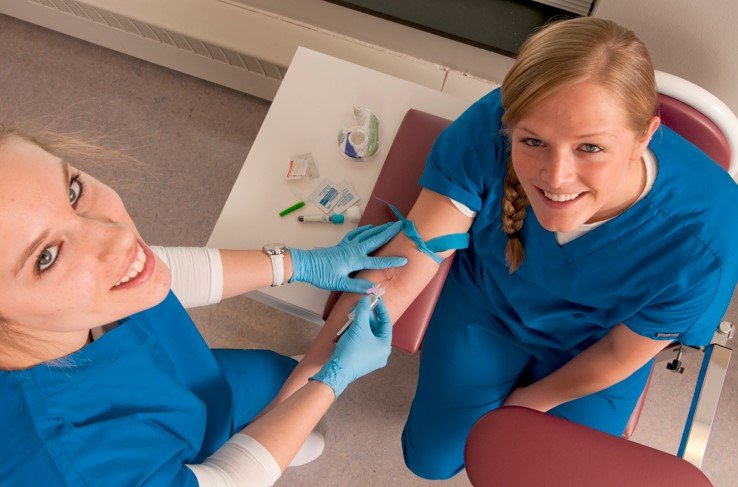
When it comes to blood collection tubes in the United States for medical laboratory and phlebotomy procedures, following the correct order of draw is crucial. The order in which blood is collected into different tubes can impact the accuracy of Test Results and patient safety. In this blog post, we will discuss the importance of the correct order of draw and provide a guide on the proper sequence of blood collection tubes.
Why is the Order of Draw Important?
The order of draw is important for several reasons:
- Preventing Cross-Contamination: Certain additives in blood collection tubes can interfere with the results of subsequent tests if mixed together prematurely. Following the correct order of draw helps to prevent Cross-Contamination and ensure accurate Test Results.
- Ensuring patient safety: Drawing blood in the correct order helps to minimize the risk of patient harm, such as infection or incorrect diagnoses, due to contaminated samples.
- Complying with Regulations: Healthcare professionals in the United States are required to follow standard protocols, including the order of draw, to maintain accreditation and ensure Quality Control in medical laboratories.
The Correct Order of Draw
The correct order of draw for blood collection tubes in the United States typically follows this sequence:
1. Yellow Tube (Sterile, Blood Culture Tube)
The yellow tube is used for blood cultures to check for the presence of bacteria or fungi in the bloodstream. It is essential to draw this tube first to prevent contamination from other tubes.
2. Light Blue Tube (Sodium Citrate)
The light blue tube is used for coagulation testing, including Prothrombin Time (PT) and Activated Partial Thromboplastin Time (aPTT). It contains Sodium Citrate as an Anticoagulant and should be filled to the stated volume to maintain the proper blood-to-Anticoagulant ratio.
3. Red Tube (Serum Tube)
The red tube does not contain any additives and is used for various chemistry tests, such as Blood Glucose and lipid profiles. It should be allowed to clot before centrifugation to obtain serum for analysis.
4. Tiger/Gold Tube (Serum Separator Tube)
The tiger/gold tube, also known as the serum separator tube, contains a gel that forms a barrier between the serum and the clot. It is used for chemistry tests and does not require the blood to clot separately.
5. Green Tube (Heparin Tube)
The green tube contains Heparin as an Anticoagulant and is used for plasma tests, such as electrolytes and kidney function tests. It should be inverted several times to ensure proper mixing of the additive.
6. Lavender Tube (EDTA Tube)
The lavender tube contains ethylenediaminetetraacetic acid (EDTA) as an Anticoagulant and is used for hematology tests, such as complete blood counts (CBC) and blood typing. It should be gently inverted to prevent clot formation.
7. Gray Tube (Glycolytic Inhibitor Tube)
The gray tube contains a glycolytic inhibitor, such as Sodium Fluoride, to preserve glucose levels in the blood sample. It is used for glucose testing and should be mixed gently to prevent clotting or hemolysis.
Conclusion
Following the correct order of draw for blood collection tubes is essential for healthcare professionals in the United States. By understanding the proper sequence of tubes and their uses, medical laboratories and phlebotomists can ensure accurate Test Results and maintain patient safety. By adhering to standard protocols and best practices, Healthcare Providers can deliver high-quality care and contribute to the overall effectiveness of the healthcare system.
Disclaimer: The content provided on this blog is for informational purposes only, reflecting the personal opinions and insights of the author(s) on the topics. The information provided should not be used for diagnosing or treating a health problem or disease, and those seeking personal medical advice should consult with a licensed physician. Always seek the advice of your doctor or other qualified health provider regarding a medical condition. Never disregard professional medical advice or delay in seeking it because of something you have read on this website. If you think you may have a medical emergency, call 911 or go to the nearest emergency room immediately. No physician-patient relationship is created by this web site or its use. No contributors to this web site make any representations, express or implied, with respect to the information provided herein or to its use. While we strive to share accurate and up-to-date information, we cannot guarantee the completeness, reliability, or accuracy of the content. The blog may also include links to external websites and resources for the convenience of our readers. Please note that linking to other sites does not imply endorsement of their content, practices, or services by us. Readers should use their discretion and judgment while exploring any external links and resources mentioned on this blog.