
Using a Winged Infusion Set Properly in Phlebotomy Procedures for Medical Labs
Summary
- Understanding the importance of using a winged infusion set correctly in phlebotomy procedures
- Steps involved in correctly using a winged infusion set for phlebotomy procedures
- Ensuring proper safety and hygiene practices during phlebotomy procedures in medical labs
Introduction
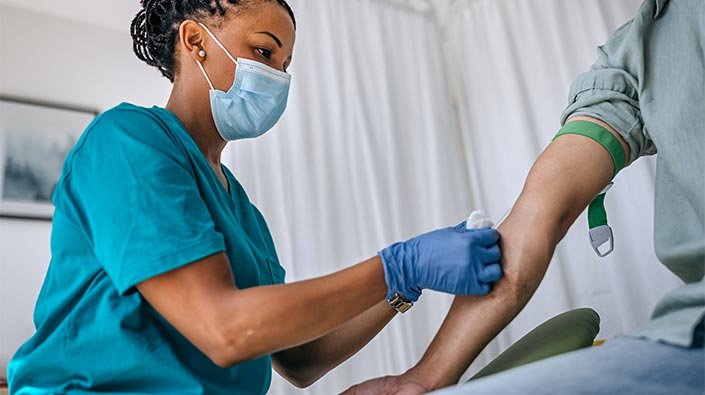
Phlebotomy procedures are an essential part of medical laboratory services in the United States. One of the key instruments used in these procedures is the winged infusion set, also known as a butterfly needle. It is crucial to use the winged infusion set correctly to ensure accurate blood collection and patient safety. In this article, we will discuss the steps involved in correctly using a winged infusion set for phlebotomy procedures in a medical lab setting.
Steps for Using a Winged Infusion Set
Step 1: Prepare the Materials
- Gather all the necessary materials, including the winged infusion set, alcohol swabs, adhesive bandages, and gloves.
- Check the expiration date of the winged infusion set and ensure that it is sterile and in good condition.
Step 2: Select and Clean the Puncture Site
- Choose a suitable vein for Venipuncture, typically in the antecubital area of the arm.
- Clean the puncture site with an alcohol swab and allow it to dry completely to prevent contamination.
Step 3: Prepare the Patient
- Explain the procedure to the patient and ensure their consent.
- Ask the patient to extend their arm and make a fist to help dilate the vein for easier Venipuncture.
Step 4: Assemble the Winged Infusion Set
- Remove the protective cap from the winged infusion set and attach the appropriate Needle Gauge for the procedure.
- Prime the tubing by allowing the sterile saline solution to flow through and remove any air bubbles.
Step 5: Perform Venipuncture
- Hold the winged infusion set like a pencil and use a 15-30 degree angle to insert the needle into the vein.
- Once blood starts to flow, secure the needle in place with adhesive tape and adjust the angle as needed for optimal blood collection.
Step 6: Secure the Needle and Collect Blood
- Apply gentle pressure near the puncture site to help with blood flow into the collection tubes.
- Fill the necessary tubes with the required amount of blood for testing.
Step 7: Remove the Winged Infusion Set
- Once blood collection is complete, remove the needle from the vein in a swift and controlled motion.
- Apply pressure to the puncture site with a clean gauze pad to stop any bleeding.
Step 8: Dispose of the Materials Properly
- Place the used winged infusion set, gloves, and other disposable materials in a biohazard container for Proper Disposal.
- Dispose of sharps in a designated puncture-proof container to prevent needle-stick injuries.
Conclusion
Correctly using a winged infusion set for phlebotomy procedures is crucial for obtaining accurate blood samples and ensuring patient safety in medical lab settings. By following the steps outlined in this article, healthcare professionals can perform Venipuncture procedures efficiently and hygienically. It is essential to adhere to proper safety protocols and disposal guidelines to prevent any risk of contamination or injury during phlebotomy procedures.
Disclaimer: The content provided on this blog is for informational purposes only, reflecting the personal opinions and insights of the author(s) on the topics. The information provided should not be used for diagnosing or treating a health problem or disease, and those seeking personal medical advice should consult with a licensed physician. Always seek the advice of your doctor or other qualified health provider regarding a medical condition. Never disregard professional medical advice or delay in seeking it because of something you have read on this website. If you think you may have a medical emergency, call 911 or go to the nearest emergency room immediately. No physician-patient relationship is created by this web site or its use. No contributors to this web site make any representations, express or implied, with respect to the information provided herein or to its use. While we strive to share accurate and up-to-date information, we cannot guarantee the completeness, reliability, or accuracy of the content. The blog may also include links to external websites and resources for the convenience of our readers. Please note that linking to other sites does not imply endorsement of their content, practices, or services by us. Readers should use their discretion and judgment while exploring any external links and resources mentioned on this blog.